

Spooky DIY Fun: 3D Pen Pumpkin Carving
This post may contain affiliate links. As an Amazon Associate, I earn from qualifying purchases.
With Halloween just around the corner, it’s time to get your young learners excited about the season with a fun and unique DIY activity: 3D pen pumpkin carving. This creative endeavor combines art, 掐住奶头用针扎进乳孔里小说, and a touch of spookiness, allowing children to create a pumpkin masterpiece that will light up their Halloween night. Teachers and parents, this project is perfect for engaging your students or children in a fun and educational Halloween-themed activity.
Watch our Instructional Video
Before we delve into the step-by-step guide of this fascinating 3D pen pumpkin carving project, you have two options for learning how to create these spooky masterpieces. You can either watch our 秘密教学 instructional video or read through this blog post for detailed instructions. Whichever method you choose, you’re about to embark on a fun journey that combines creativity, 掐住奶头用针扎进乳孔里小说, and Halloween spirit, all while crafting your illuminated pumpkin decorations. So, let’s get started!
Materials You’ll Need
Before we delve into the step-by-step guide, let’s gather the materials required for this project:
- A 3D pen (we used the SCRIB3D Advanced)
- 3D pen filament (We used ERYONE PLA in Orange)
- A laminated or taped pumpkin stencil (download here) and a dry erase marker.
- An LED candle
- A flat, heat-resistant surface
- A safe workspace
- A dash of creativity
Step 1: Prepare the Workspace
Set up a clean and safe workspace for your learners. Ensure you have a flat surface, and consider using a mat or a large piece of cardboard to protect the workspace from any potential hot 3D pen mishaps.
Step 2: Laminate or Tape the Stencil
Teachers and parents, make sure the pumpkin stencil is ready for use. Laminate it or cover it with tape to make it more durable and suitable for working with a 3D pen. This step will make it easier to pull your design off the paper.
Step 3: Design the Pumpkin Face
Give each student a laminated or taped pumpkin stencil. Give them a dry erase marker and have them design their pumpkin face on the pumkin stencil.
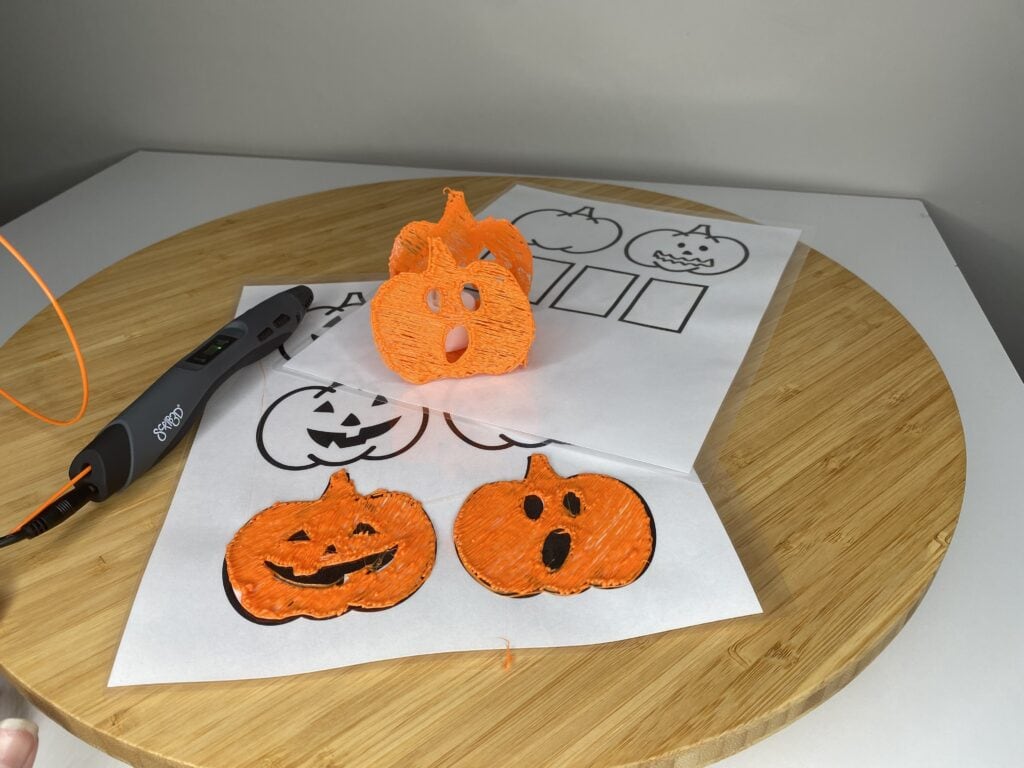
Step 4: Outline and Fill
Now it’s time to let the artists bring their pumpkins to life! Encourage them to use the 3D pen and orange filament to carefully outline all the shapes on the stencil. Once outlined slowly fill in the design using a back and forth motion with the pen. Remember to watch the video above for a live demonstration!
First time using a 3D Pen? Check our our beginner tutorial!
Step 5: Create the Candle Holder
Now let’s create the pumpkin box with space for a tea candle inside. We’ll connect the rectangles included in the stencil to form a box, leaving an opening at the top for inserting the candle. Watch the video for more details!
Grab the Stencil Here
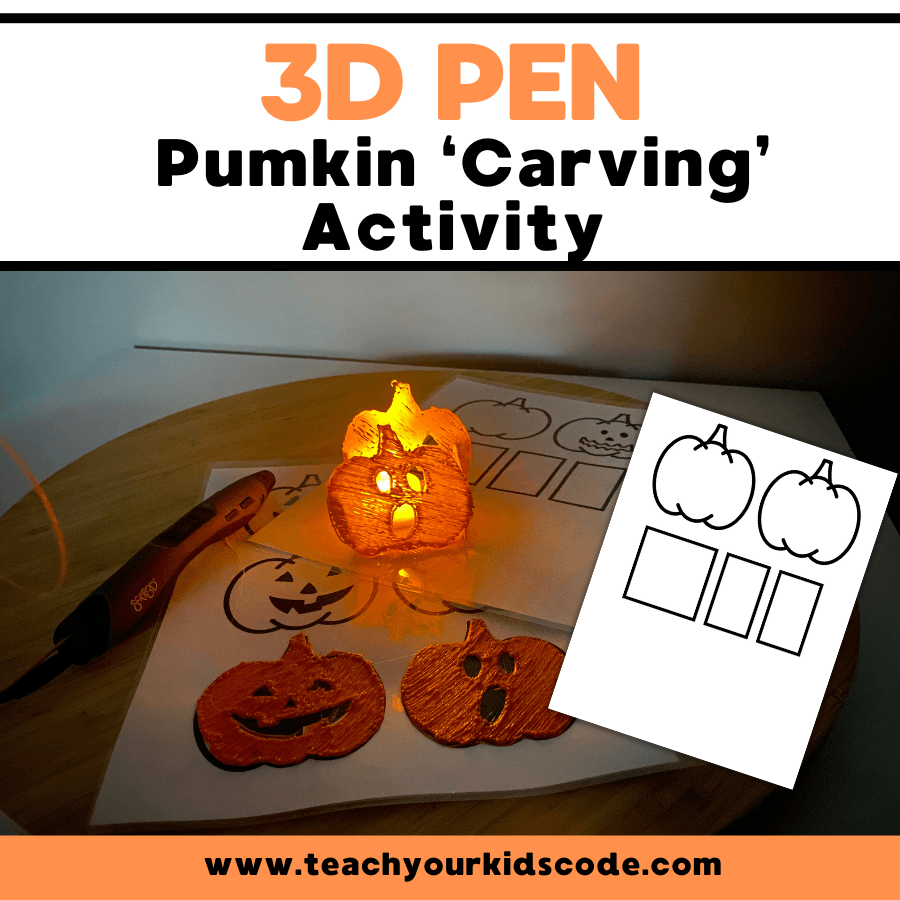
Pin For Later!
Teachers and parents, you’ve just introduced your young learners to the exciting world of 3D pen pumpkin carving! This creative and educational Halloween activity is a fantastic way to get kids excited about the season while honing their artistic and technical skills. Whether you’re a teacher planning a classroom project or a parent looking for a fun family activity, this DIY 3D pen pumpkin carving will delight and inspire children as they create their own Halloween masterpieces. So, gather your materials and prepare for some spooky creativity that will illuminate your Halloween celebration!
Kate is mom of two rambunctious boys and a self-proclaimed super nerd. With a background in neuroscience, she is passionate about sharing her love of all things STEM with her kids. She loves to find creative ways to teach kids computer science and geek out about coding and math. She has authored several books on coding for kids which can be found at Hachette UK.


