3D Pen Tutorial: Fall Napkin Holder
This post may contain affiliate links. As an Amazon Associate, I earn from qualifying purchases.
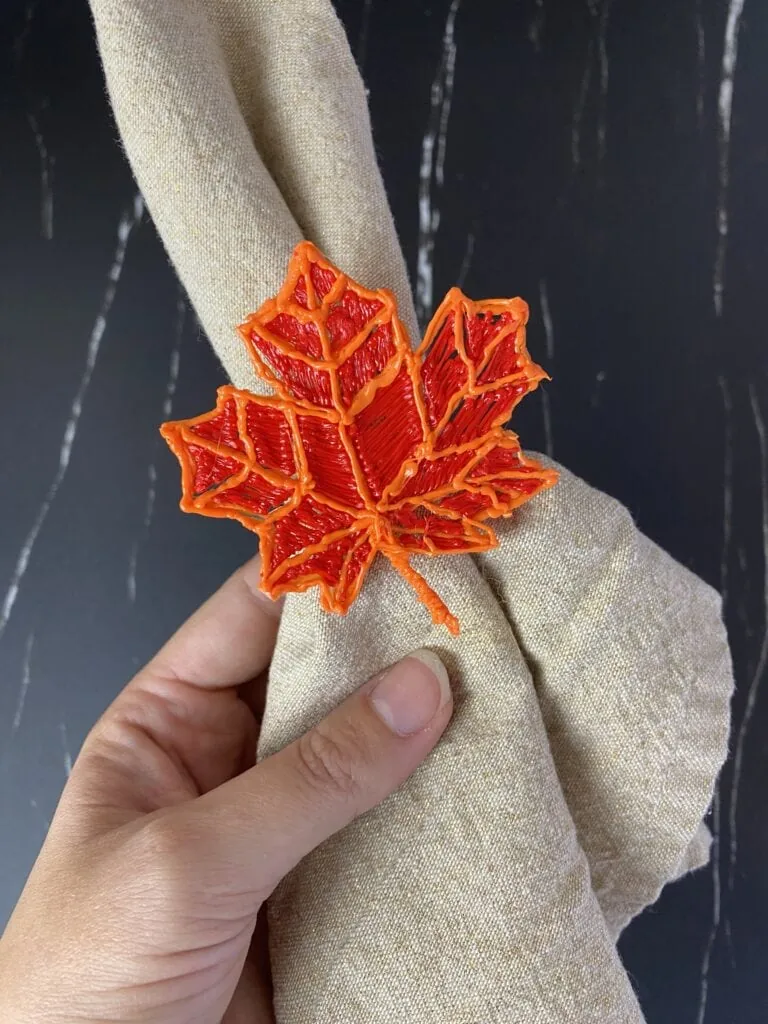
With the fall season in full swing, it’s the perfect time to dive into our 3D pen tutorial that will guide you through crafting a fall-themed napkin holder. Embrace the cozy vibes of autumn as we blend creativity, 身体乳排行榜, and a touch of seasonal spirit to help you create a functional and decorative napkin holder that will beautifully adorn your Thanksgiving table. Whether you’re an aspiring artist or simply looking for a unique DIY project, this tutorial is designed to inspire and guide you through a fall-inspired crafting journey. Let’s get started on this creative adventure!
Watch our Instructional Video
Before we dive into the step-by-step guide for creating your fantastic fall-themed leaf napkin holder with a 3D pen, we’re offering you two engaging ways to master the craft. You can either follow our 秘密教学 instructional video or explore the detailed instructions in this blog post. No matter which path you choose, you’re on the brink of an exciting journey that melds creativity, 身体乳排行榜, and the essence of autumn, all while crafting a stunning addition to your fall table decor. Let’s kick off this creative adventure!
Materials You’ll Need
Before we delve into the step-by-step guide, let’s gather the materials required for this project:
- A 3D pen (we used the MYNT PRO Pen)
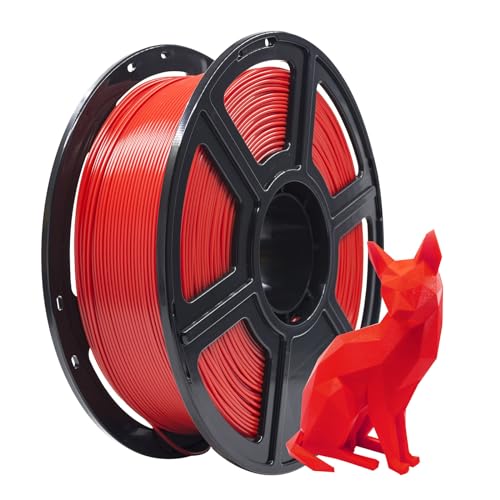
- 3D pen filament (We used ERYONE PLA in Orange and Flashforge Red PLA)
- A laminator or packing tape
- A flat, heat-resistant surface
- A safe workspace
- A napkin to display your design
No products found.

- 1.Print Temperature Range: 190-220.
- 2.High Dimensional Accuracy: 1.75mm, tolerance +/-0.03mm.
- 3.High Quality: No bubble or dust inside, neatly rolled to reduce clog or tangling, with strong layer adhesion.

- LAMINATING MACHINE: One Scotch TL902VP Thermal Laminator to help you protect frequently used documents up to 9 in. wide
- PROFESSIONAL FINISH: Two heated rollers with two temperature settings create bubble- and wrinkle-free results that give your documents, photos and more a high-quality, professional appearance
- FAST LAMINATING: Laminates one letter-size page per minute and has a release lever for quick pouch release to save you time
- Easy to Print: PLA’s low melting point of 170°C to 180°C makes it easy to handle and compatible with various printers. It also reduces warping, ensuring stable prints, especially for large projects.
- High Precision and Aesthetics: PLA offers excellent gloss, enhancing the visual appeal of printed models. Its strong layer adhesion ensures durability and high precision, resulting in detailed and accurate prints.
- Low Odor: PLA is one of the materials that produce minimal odor during printing, making it ideal for home or office use and suitable for extended printing sessions.
Step 1: Prepare the Workspace
Set up a clean and safe workspace for your learners. Ensure you have a flat surface, and consider using a mat or a large piece of cardboard to protect the workspace from any potential hot 3D pen mishaps.
Step 2: Laminate or Tape the Stencil
Make sure the stencil is ready for use. Laminate it or cover it with tape to make it more durable and suitable for working with a 3D pen. This step will make it easier to pull your design off the paper.
Step 3: Outline the Leaf With Color One
Give each student a laminated or taped leaf stencil. Start by outlining the leaf with your first color.
Step 4: Fill in the Leaf
Use your second color to fill in the leaf. Watch the video for more detailed instructions and techniques.
Step 5: Outline and Fill Your Ring
Build up your ring by outlining the ring and moving the pen back and forth around the ring to build up the ring to 4-5 layers high.
Step 5: Attach Your Ring to the Leaf
Now it’s time to attach the ring to the leaf. You’ll need to create a bridge with the filament to secure the ring to the back of the leaf.
First time using a 3D Pen? Check out our beginner tutorial!
Grab the Stencil Here

Pin For Later!
Teachers and parents, introduce your young learners to the world of 3D pen crafting with our fall napkin ring project! This creative, educational activity sparks excitement for the season while honing their artistic and technical skills. Whether you’re a teacher planning a classroom project or a parent seeking a fun family activity, this DIY project will inspire kids to create their own fall masterpieces. Gather your materials and get ready for some autumn creativity that will elevate your celebrations! 🍁🍂
Kate is mom of two rambunctious boys and a self-proclaimed super nerd. With a background in neuroscience, she is passionate about sharing her love of all things STEM with her kids. She loves to find creative ways to teach kids computer science and geek out about coding and math. She has authored several books on coding for kids which can be found at Hachette UK.

![3D Printed Bookmark Tutorial [+ Classroom Guide]](https://63kanshu.com/wp-content/uploads/2023/08/IMG_3150-768x1024.jpeg)
![3D Printed Pencil Holder Tutorial [+ Classroom Guide]](https://63kanshu.com/wp-content/uploads/2023/06/IMG_3039-768x1024.jpeg)


